
Safety at height: mandatory rules for working with scaffolding and platforms
2 April 2026

A tower is one of the most convenient structures for working at height: façade, ceiling, installation, insulation, painting. But only if it is assembled correctly.
The VIRASTAR Compact model is popular precisely because it can be quickly installed even on a small site. However, assembly errors can cost time, stress, and safety.
Half the problems arise not during assembly, but before it.
Before you begin:
The VIRASTAR Compact assembles like a construction set, but only if nothing is missing.
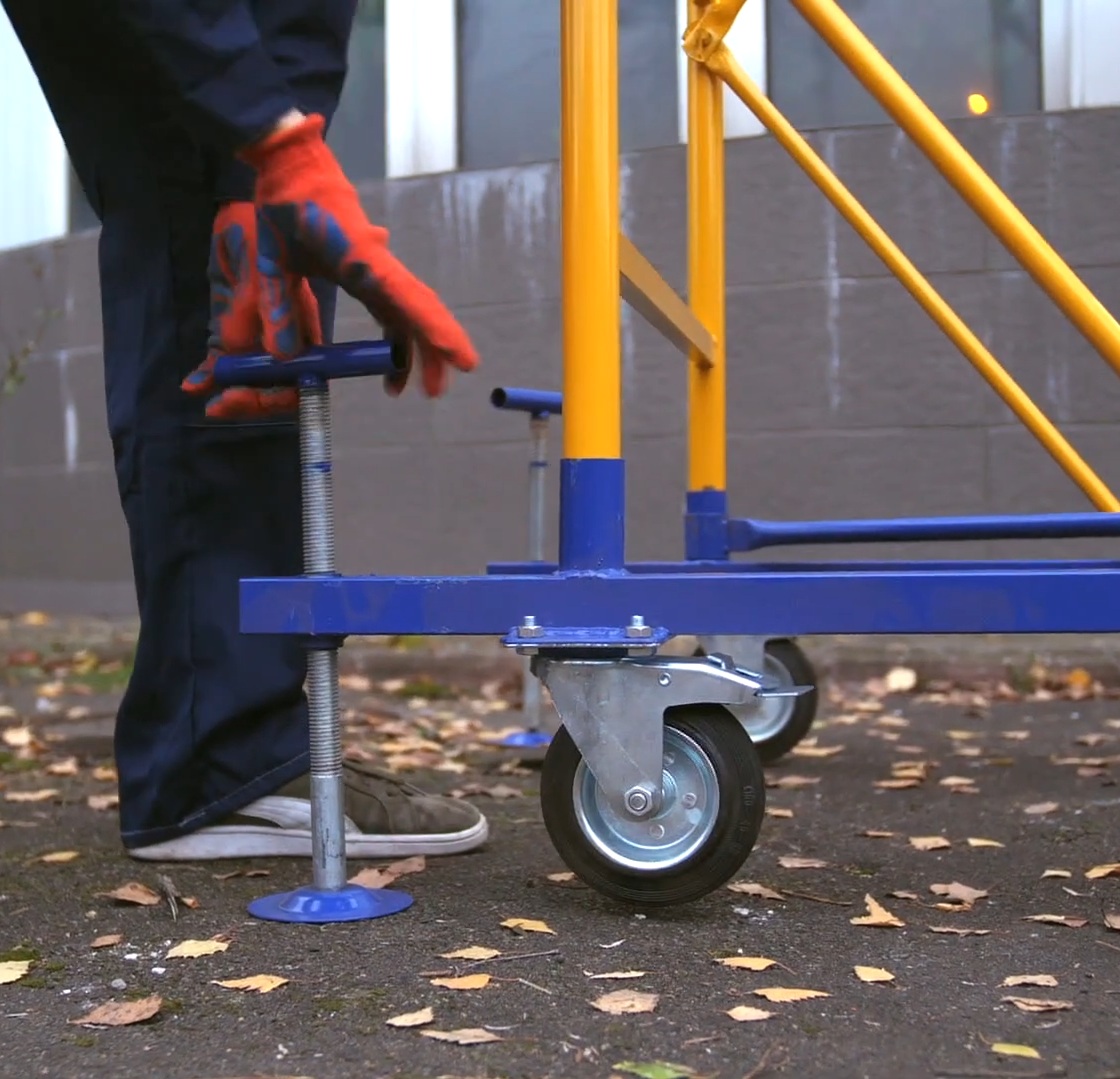
Start with the most important part – the bottom tier.
A common mistake: people assemble the tower "by eye," only to have it begin to wobble at a height of 2-3 meters.
The VIRASTAR Compact has a compact base, so it's especially important to level it precisely.
The rule is simple:
No diagonal braces, no stability.
A rookie mistake: "I'll put it up later, then I'll quickly climb in." This is the most dangerous decision.
The VIRASTAR Compact deck is lightweight but durable.
It is installed after the lower tier is secured. Advice:
Next, the scaffolding tower is assembled one module at a time:
This is the correct design – "tier by tier."
A common mistake is to install all the frames first and then begin securing the trusses. This takes longer and is more dangerous.
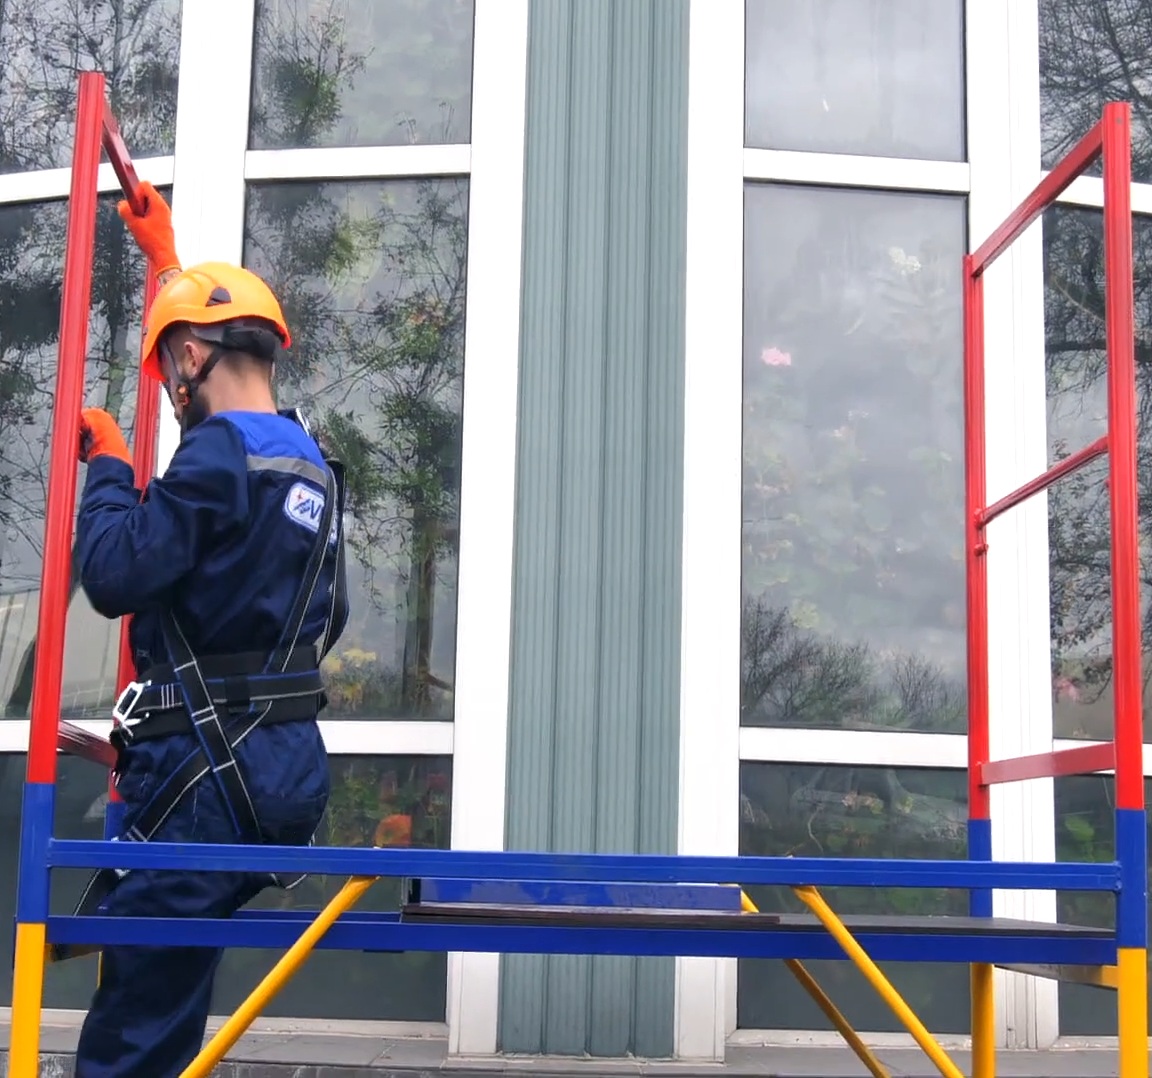
At heights, the following are essential:
VIRASTAR Compact is designed for quick installation, but safety rules are the same for all towers.
Disassembly is always done in reverse order:
Tip:
Stack the elements in groups (frames to frames, diagonals to diagonals) – this saves time during the next assembly.
Here are the most common mistakes:
Correct assembly of the VIRASTAR Compact takes 15-30 minutes if everything is done according to the diagram.
A little life hack for quick installation
If the scaffold is used frequently:
We invite you to read another blog article, " Scaffold or a tower: which is better for different types of work."
If you have any questions about the towers offered for sale on our website, please call us or email us!
We wish you successful shopping!

1 March 2026
